
If you’ve been testing different IPTV players, you already know the harsh reality: most of them feel clunky, look like they were designed in 2010, and completely crash when you try to load a massive 20,000-channel playlist.
After bouncing between GSE Smart IPTV, Smarters Pro, and OTT Navigator, the consensus in the cord-cutting community remains rock solid. In 2026, TiviMate Premium is the gold standard for living room setups.
It turns a standard Android TV box or Firestick into an interface that actually feels faster and cleaner than a high-end cable box. But getting it set up especially unlocking the Premium version if you don’t natively use Android can be a bit of a hurdle.
Here is the practical, no-nonsense guide to what makes TiviMate Premium worth the money, how to bypass the installation headaches on a Firestick, and the exact settings you need to tweak for the best streaming experience.
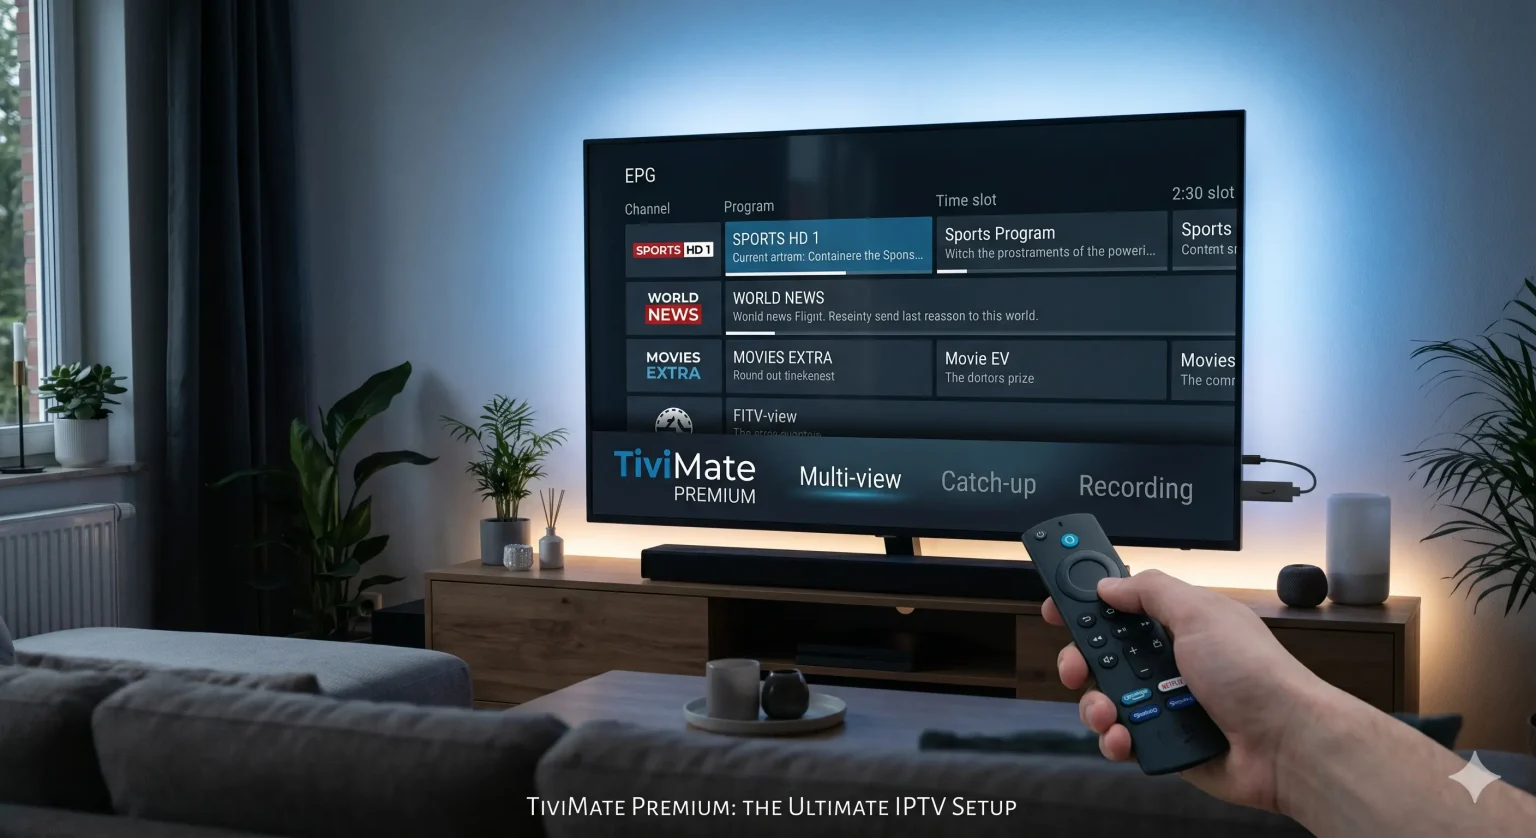
What Actually is TiviMate?
Before going any further: TiviMate is strictly a media player. It does not come with any channels, movies, or live sports. Buying TiviMate Premium does not give you an IPTV subscription. You have to bring your own provider (usually via an M3U-link or Xtream Codes API).
Think of TiviMate as the TV hardware, and your IPTV provider as the cable company.
Free vs. Premium: Is the Upgrade Worth It?
The free version of TiviMate is essentially a glorified trial. It lets you add exactly one playlist and click around the basic TV guide interface. If you actually want to use the app as your daily driver, the Premium upgrade is mandatory.
Here is what you are actually paying for:
| Funktion | Free Version | TiviMate Premium |
| Playlists | 1 Max | Unlimited (stack backup providers) |
| Multi-view | Locked | Watch up to 4 live events at once |
| TV-genudsendelser | Locked | Rewind up to 7 days (if provider supports it) |
| Favorites | Locked | Build custom channel lists across providers |
| Recording | Locked | Record live TV directly to a USB or NAS |
| Guide Tweaks | Grundlæggende | Custom EPG sources, hide/reorder categories |
At $4.99 a year (or roughly $29.99 for a lifetime license), it’s arguably the best money you can spend on your home theater setup.
The "Companion App" Hurdle: How to Buy Premium
If you are using an Nvidia Shield, a Chromecast with Google TV, or any device with the official Google Play Store, upgrading is effortless. You just click “Unlock Premium” in the app and pay with your Google account.
If you are on an Amazon Firestick, things get complicated because Amazon blocks Google billing. Here is the workaround:
Grab an Android phone or tablet (borrow one if you are strictly an Apple user).
Open the Google Play Store and download the TiviMate Companion app.
Open the Companion app, create a TiviMate account, and purchase the Premium subscription.
Go back to your Firestick, open TiviMate, navigate to Indstillinger > Lås Premium op, and log in with the account you just created. Your Firestick will instantly authenticate.
How to Install TiviMate on a Firestick (Sideloading)
Because it competes with Amazon’s own live TV ecosystem, you won’t find TiviMate in the Amazon Appstore. You have to sideload it.
On your Firestick home screen, go to Indstillinger > Min Fire TV > Udviklerindstillinger og tænde for Apps fra ukendte kilder.
Search for and install the official Downloader app.
Open Downloader, select the URL box, and type the official TiviMate shortcode:
272483(or type tivimate.com/apk).Click Go. The APK file will download. Klik Installere.
Adding Your IPTV Provider
Once inside the app, you need to load your channels. Always opt for Xtream-koder instead of an M3U URL if your provider offers it. Xtream Codes loads the EPG (TV Guide) significantly faster and categorizes Live TV, Movies, and TV Shows much more cleanly.
Gå til Settings > Playlists > Add Playlist.
Vælg Xtream-koder.
Enter the Server Address (URL), your Username, and your Password provided by your IPTV service.
Check the box that says “Include VOD” if you want to pull in their movie and TV show library.
Click Next. Give the app a few minutes to process the channels and populate the grid.
Settings You Need to Change Immediately
Out of the box, TiviMate is great, but tweaking a few backend settings makes it flawless.
Bufferstørrelse: If your streams occasionally stutter or freeze, go to Settings > Playback > Buffer Size and change it from Normal to Stor eller Extra Large. This gives the player a few seconds of runway to handle internet bandwidth fluctuations.
Auto Frame Rate (AFR): Gå til Settings > Playback and turn on AFR. This forces your TV to match the frame rate of the broadcast (e.g., 50fps for UK sports, 60fps for US sports), eliminating the micro-stutters you often see during fast panning motions in sports.
Clean Up the Guide: Gå til Settings > Appearance > TV Guide and turn off “Show channel numbers.” Most IPTV playlists have random, messy numbering systems. Hiding them cleans up the UI drastically.
Hide the Junk: Providers often dump hundreds of international folders into your list. Gå til Settings > Playlists > [Your Provider] > Manage Groups and manually hide the folders for countries and languages you will never watch. This speeds up app load times and makes navigation infinitely better.