
Cutting the cord used to mean buying a simple digital antenna. Today, television delivery has moved almost entirely to the internet. Internet Protocol Television (IPTV) lets you stream live television, sports, and on-demand content directly through an active network connection.
However, setting up an IPTV system for the first time can feel overwhelming. Many beginners confuse IPTV players (the software interface) with IPTV services (the content provider).
An IPTV player does not host or provide any content on its own. Instead, it acts as a digital media engine much like VLC Media Player or a web browser. To stream your channels, you must load your provider’s playlist credentials (usually an M3U URL or Xtream Codes API login) into the player.
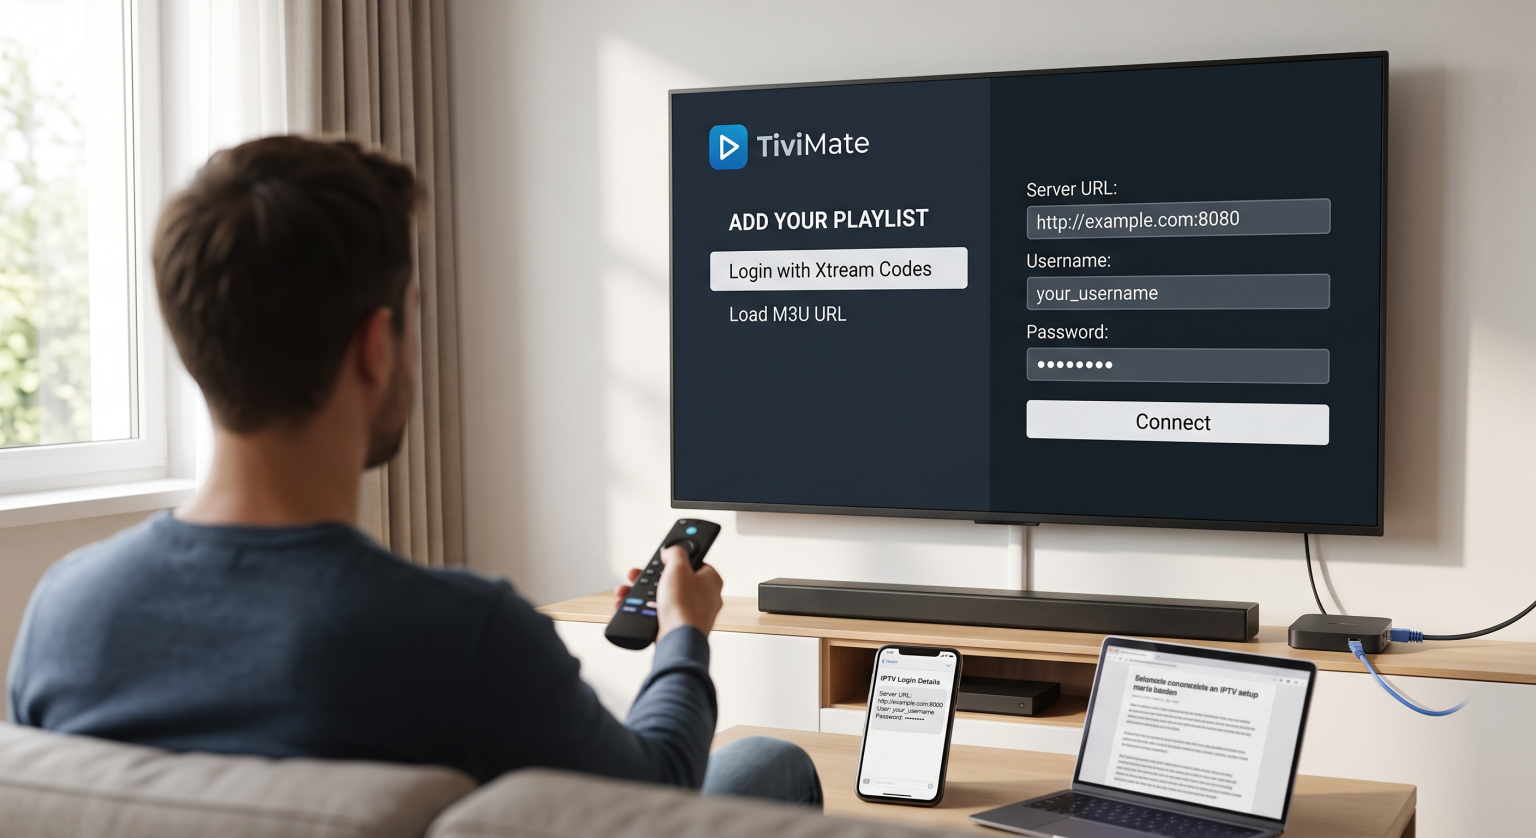
1. Understanding Playlist Formats: M3U vs. Xtream Codes
Before installing an application, you need to understand how players read channel data. When you subscribe to a service, your provider will typically supply one of two credential formats:
Xtream Codes API (Recommended)
This is the most stable and user-friendly connection method. Instead of entering an impossibly long web address, you simply enter:
Server URL / Portal: (e.g., (http://service-domain.com:8080)
Username: Your assigned account username
Password: Your assigned account password
Xtream Codes automatically organizes your Electronic Program Guide (EPG), channel categories, and Video on Demand (VOD) libraries cleanly.
M3U URL / Playlist File
An M3U file is a text-based playlist format that contains the direct streaming links and metadata for every channel in your package. You will either receive:
A long web link (e.g., (http://service-domain.com/get.php?username=…&type=m3u_plus)
A downloadable .m3u or .m3u8 file to upload directly into the player
2. Choosing the Right IPTV Player for Your Device
Different operating systems support different players. Selecting an app optimized for your specific hardware ensures smooth playback, fast channel switching (zapping), and accurate EPG loading.
| Player Name | Best For | Supported OS | Key Features | Pricing Model |
| TiviMate | Premium TV experience | Android TV, Fire TV | Modern UI, multi-screen, catch-up, custom channel groups | Freemium (Premium paid) |
| IPTV Smarters Pro | Versatility & beginners | Android, iOS, Windows, Mac, Firestick | Simple login, multi-user support, integrated player | Free (In-app purchases) |
| IBO Player | Smart TVs | Samsung Tizen, LG webOS, Android | Lightweight, fast loading, direct MAC address activation | 7-day trial, one-time fee |
| XCIPTV | Customization & ease | Android TV, Fire TV | Clean default layout, built-in speed test, dual players | Free |
| OTT Navigator | Power users & filtering | Android, Firestick | Deep codec customization, studio-level filtering, PiP | Freemium |
3. Step-by-Step Installation: Android TV & Amazon Firestick
Because Android-based streaming sticks represent the vast majority of streaming setups, here is the standard workflow using the two most common deployment methods.
Method A: Direct Install via Official App Stores
Open the Google Play Store (Android TV / Google TV) or the Amazon Appstore (Firestick).
Search for a verified player such as IPTV Smarters Pro or TiviMate.
Select Install or Get.
Launch the app once installation completes.
Method B: Sideloading via the Downloader App (Firestick / Shield)
Some dedicated IPTV players are not listed on standard app stores due to regional restrictions.
Navigate to Settings > My Fire TV > Developer Options.
Enable Install unknown apps for the Downloader application.
Open Downloader, type the direct numeric code or URL for your chosen player’s
.apkfile, and press Go.Once downloaded, click Install, then Done, and delete the installation
.apkto free up device storage.
4. Configuring Your Player (Step-by-Step Walkthrough)
Once the application is running, link your subscription using the following setup sequence:
[Open Player] ➔ [Add User / New Playlist] ➔ [Select Xtream Codes or M3U] ➔ [Enter Server Details & Credentials] ➔ [Sync EPG & Channels]
Launch the Application: On the welcome screen, choose Add Playlist, Add User, or Login with Xtream Codes API.
Input Connection Details:
Playlist Name: Assign a descriptive label (e.g., Main TV).
Server URL: Paste the exact URL supplied by your provider (check for trailing slashes, spaces, or http:// vs https://).
Username & Password: Enter your credentials carefully (these are case-sensitive).
Download Data: Click Add User or Save. The app will take anywhere from 10 seconds to a few minutes to fetch the live channel list, movies, series, and TV guide data.
Configure EPG (TV Guide): If your guide does not automatically populate, head to Settings > EPG / TV Guide inside the app and set the EPG Update Frequency to update every 24 hours.
5. Optimizing Performance and Troubleshooting Common Errors
Eliminating Buffering & Freezing
Hardwire your connection: Whenever possible, use an Ethernet cable instead of 2.4 GHz Wi-Fi. If Wi-Fi is mandatory, switch to the 5 GHz band.
Adjust Buffer Size: Inside your player’s playback settings, increase the stream buffer from None/Small to Medium or Large (3 to 5 seconds). This gives the stream room to absorb brief network dips.
Hardware vs. Software Decoding: If a channel shows a black screen with audio, go to your player’s decoder settings and toggle between Hardware (HW) and Software (SW) decoding.
Fixing “Playlist Reload Failed” or Connection Timeouts
Double-check your expiration date and active device limits with your provider.
Verify that your internet service provider (ISP) is not blocking media streaming ports.
Restart both your router and your streaming box to clear local DNS caches.
Final Thoughts
Setting up an IPTV player is a straightforward process once you separate the media player software from the playlist source. By choosing an app suited to your operating system whether that is TiviMate for dedicated TV interfaces or IPTV Smarters for cross-device flexibility and utilizing the Xtream Codes API, you will enjoy a seamless, cable-like streaming experience on your home setup.